Painting is hard. Promoting your work on top of that can be an uphill struggle, which is why using printed material to do the job for you is a good idea.
Perhaps you have an online presence already, but a hard copy of your work, in the form of a printed postcard reproduction of one of your best paintings, is a calling card you can send to galleries or potential buyers. If it's pretty, it gets to stick around, a real world, lasting reminder to everyone who sees it that you're out there.
I finally got around to doing this last week, and thought I'd do a step by step in case anyone else was wondering how to go about it.
Step 1: Choose your image.
This can be the hardest part. Make it as easy as you can, like this...
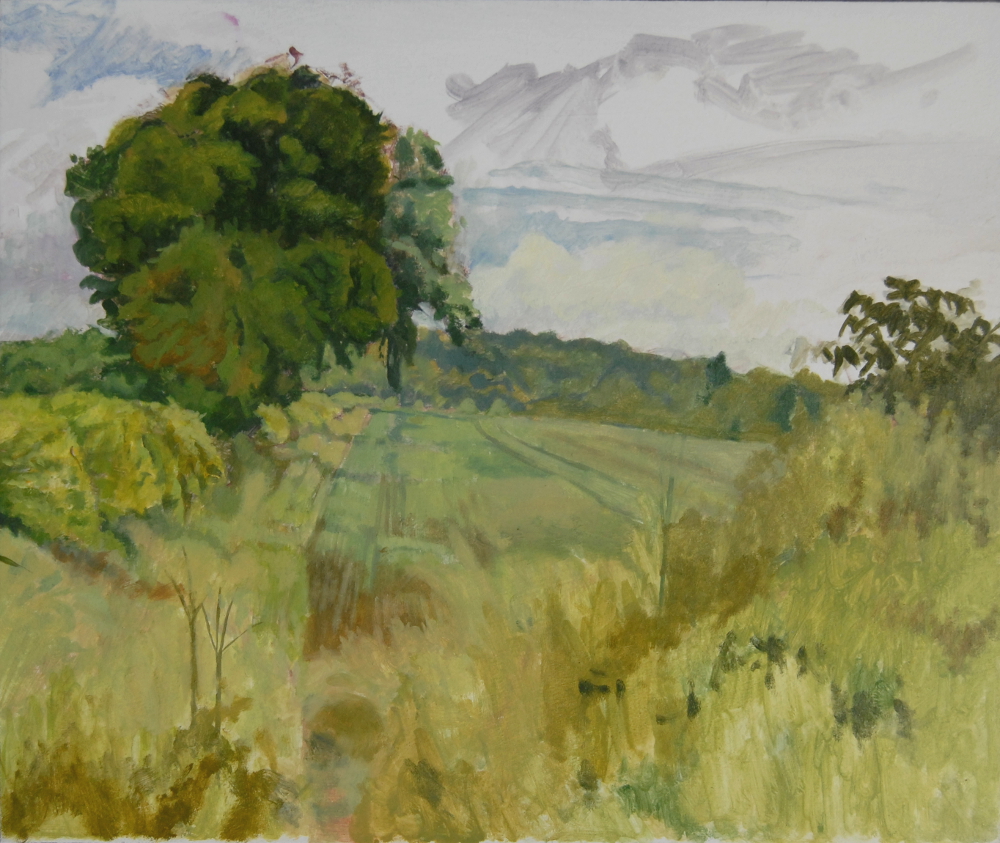
Gather all the potential images you think could make a good postcard. Stick them into one folder on your desktop.
Choose recent images over past successes, to better represent the kind of work you do now. Pick your best work - you know which of your paintings are better than the rest. And lastly, pick paintings that have impact. You want an image you can read all the way across the room when it's only as big as a postcard.
Open the images in Windows photo gallery, or whatever slide show viewer your system supports. Click through them, one by one. Take your time. Narrow down your choices. Keep the proportions of the finished postcard in mind. An A6 standard sized card is 148mm x 105mm, around five and seven eighths by four and one eighth inches, or roughly 3:2. Remember your painting might not fit those proportions exactly, and that you may have to leave space around your image.
Got the picture you want? Sure? Stick with it. Once you've made a choice, remember that the investment is small enough that any second thoughts don't really matter. Don't second guess yourself.
Step 2: Prepare your image with GIMP.
Now you have to get the image print ready.
Is the image you chose the best image possible of the painting? It needs to be good quality, sharp and clear, with accurate colour and tone. That murky snapshot you took on a dull day with your phone set to potato? Yeah, don't use that. It won't magically turn into a high quality pin sharp printed card.

There are articles online about how to take good pictures of your artwork, just a Google search away. I use a DSLR set to 200 ISO and photograph my paintings flat on the floor lit by direct sunlight. Using my legs as a tripod..., well, bipod anyway, I stand directly over the piece and make sure I photograph it square on. Not recommended for larger pieces, but good enough for small paintings.
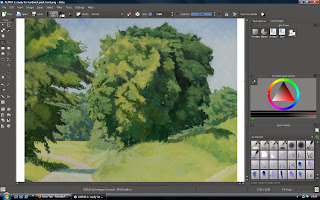
I make JPGs at the highest setting, 3872 x 2592 pixels, which seem to be adequate. I open them in GIMP, and cut them down to the outline of the painting like this: use the Rectangle Select tool to draw a box around the painting, then go to Image, Crop to Selection. I also use the brightness and contrast tool under the colour menu - lowering the brightness and increasing the contrast, just a little, gives a full bodied, colourful and contrasty image.
Make an A6 postcard template in GIMP, like this. Open a new, blank image - File, New - with the following specifications:
1712 pixels wide by 1228 pixels high (assuming a horizontal image).
Under 'Advanced Options', make sure its X and Y resolution is set to 300 pixels per inch. The colour space is RGB, which we'll talk about in a while.
Now, resize your painting's image so it fits neatly into that blank template. Don't distort the painting's original proportions to make it fit. Make sure that it's no bigger than 1712 x 1228 pixels, and that its dpi count is the same at 300 pixels per inch. You can do this is GIMP by accessing Image, Scale Image, and Image, Print Size.
Copy your image by going to Edit, Copy Visible. This copies your image to the clipboard. Close your painting image, then go to the blank template and choose Edit, Paste As, New Layer. This will place your image in the postcard template, where you can move it about until you're satisfied with the layout, using the move tool from the Toolbox. (Looks like a cross made of arrows.) If there's space around your image, make sure it's symmetrically placed.
When you're happy with the result, go to Layer, Merge Down. Then export it to your desktop as a PNG file.
But we're not done yet...
Step 3: Prepare your image with KRITA.
GIMP, like a lot of Open Source software, is a marvellous, highly specified program which will do many things really well.
But it won't export to CMYK, which is what printers want.
You could bite the bullet and buy Adobe Photoshop (or just pirate it should you be so inclined, NOT THAT I WOULD EVER RECOMMEND OR CONDONE SUCH A COURSE OF ACTION IN ANY WAY, at least not while any patent lawyers are listening) or...
You could download some more Open Source free software. It's called Krita, you can download it here and it's an interesting drawing and painting package with a complicated front end which I haven't the patience to learn properly but which can convert your image to CMYK and output a printer ready PDF file.
Go to Image, Convert Image Colour Space, Model: Cyan Magenta Yellow Black, Depth: 32 bits float. I have no idea what the other options mean, but I think they set the hyperdrive for Arcturus. Press OK, and wait while your computer huffs and pants through the process.
Then, File, Export as PDF, and Robert is indeed your father's brother. That PDF file is what you're going to upload to the printer. Along with another one for the rear of the postcard, where you will include the title of the piece and whatever contact information you want to put on there, be it a URL or an email address. You can make that in GIMP using the same postcard template which you already saved as 'A6 postcard template', right? Use the GIMP text tool, which gives you complete control over font choice, style, colour and size. When it's done to your liking, go through the same process to prepare the PDF for the rear of the postcard.
Step 4: Pick a printer online.
This is the part which could have you curling up into a foetal ball and whimpering softly.
Or, if you live in the UK, you could just do what I did (after a lot of Googling and cursing) and go with Printed.com.
No, I'm not an affiliate, nor do I get any kind of backhander for recommending them. Like any firm I promote on here, it's as a direct result of their good service.
I picked them because my first choice led me all the way through the order process only to lose me at the checkout when I found out their delivery charges cost twice as much as my order, because they were based overseas.
Printed.com, on the other hand, are based in the UK, use the ordinary post, and only charged me a few quid for delivery. Also, their website's online ordering process was easy to use, and their prices compared very favourably with the other online printers I looked into.
Using their online order process, I uploaded PDFs of the face and rear of the postcard and paid for my order.
Ordered online on a Friday night, my postcards turned up neatly and securely packaged the following Wednesday morning.
And that's how to get a postcard of your painting printed. I must admit to having been a little worried while I waited. My monitor isn't calibrated, and I've had one disaster with an online photo printer returning photographs so dark you could barely tell what they were, but this postcard turned out really well. I'm more than happy with the result, and I'll be using Printed.com again.
Perhaps you have an online presence already, but a hard copy of your work, in the form of a printed postcard reproduction of one of your best paintings, is a calling card you can send to galleries or potential buyers. If it's pretty, it gets to stick around, a real world, lasting reminder to everyone who sees it that you're out there.
I finally got around to doing this last week, and thought I'd do a step by step in case anyone else was wondering how to go about it.
Step 1: Choose your image.
This can be the hardest part. Make it as easy as you can, like this...
Gather all the potential images you think could make a good postcard. Stick them into one folder on your desktop.
Choose recent images over past successes, to better represent the kind of work you do now. Pick your best work - you know which of your paintings are better than the rest. And lastly, pick paintings that have impact. You want an image you can read all the way across the room when it's only as big as a postcard.
Open the images in Windows photo gallery, or whatever slide show viewer your system supports. Click through them, one by one. Take your time. Narrow down your choices. Keep the proportions of the finished postcard in mind. An A6 standard sized card is 148mm x 105mm, around five and seven eighths by four and one eighth inches, or roughly 3:2. Remember your painting might not fit those proportions exactly, and that you may have to leave space around your image.
Got the picture you want? Sure? Stick with it. Once you've made a choice, remember that the investment is small enough that any second thoughts don't really matter. Don't second guess yourself.
Step 2: Prepare your image with GIMP.
Now you have to get the image print ready.
Is the image you chose the best image possible of the painting? It needs to be good quality, sharp and clear, with accurate colour and tone. That murky snapshot you took on a dull day with your phone set to potato? Yeah, don't use that. It won't magically turn into a high quality pin sharp printed card.

There are articles online about how to take good pictures of your artwork, just a Google search away. I use a DSLR set to 200 ISO and photograph my paintings flat on the floor lit by direct sunlight. Using my legs as a tripod..., well, bipod anyway, I stand directly over the piece and make sure I photograph it square on. Not recommended for larger pieces, but good enough for small paintings.
I make JPGs at the highest setting, 3872 x 2592 pixels, which seem to be adequate. I open them in GIMP, and cut them down to the outline of the painting like this: use the Rectangle Select tool to draw a box around the painting, then go to Image, Crop to Selection. I also use the brightness and contrast tool under the colour menu - lowering the brightness and increasing the contrast, just a little, gives a full bodied, colourful and contrasty image.
Make an A6 postcard template in GIMP, like this. Open a new, blank image - File, New - with the following specifications:
1712 pixels wide by 1228 pixels high (assuming a horizontal image).
Under 'Advanced Options', make sure its X and Y resolution is set to 300 pixels per inch. The colour space is RGB, which we'll talk about in a while.
Now, resize your painting's image so it fits neatly into that blank template. Don't distort the painting's original proportions to make it fit. Make sure that it's no bigger than 1712 x 1228 pixels, and that its dpi count is the same at 300 pixels per inch. You can do this is GIMP by accessing Image, Scale Image, and Image, Print Size.
Copy your image by going to Edit, Copy Visible. This copies your image to the clipboard. Close your painting image, then go to the blank template and choose Edit, Paste As, New Layer. This will place your image in the postcard template, where you can move it about until you're satisfied with the layout, using the move tool from the Toolbox. (Looks like a cross made of arrows.) If there's space around your image, make sure it's symmetrically placed.
When you're happy with the result, go to Layer, Merge Down. Then export it to your desktop as a PNG file.
But we're not done yet...
Step 3: Prepare your image with KRITA.
GIMP, like a lot of Open Source software, is a marvellous, highly specified program which will do many things really well.
But it won't export to CMYK, which is what printers want.
You could bite the bullet and buy Adobe Photoshop (or just pirate it should you be so inclined, NOT THAT I WOULD EVER RECOMMEND OR CONDONE SUCH A COURSE OF ACTION IN ANY WAY, at least not while any patent lawyers are listening) or...
You could download some more Open Source free software. It's called Krita, you can download it here and it's an interesting drawing and painting package with a complicated front end which I haven't the patience to learn properly but which can convert your image to CMYK and output a printer ready PDF file.

Go to Image, Convert Image Colour Space, Model: Cyan Magenta Yellow Black, Depth: 32 bits float. I have no idea what the other options mean, but I think they set the hyperdrive for Arcturus. Press OK, and wait while your computer huffs and pants through the process.
Then, File, Export as PDF, and Robert is indeed your father's brother. That PDF file is what you're going to upload to the printer. Along with another one for the rear of the postcard, where you will include the title of the piece and whatever contact information you want to put on there, be it a URL or an email address. You can make that in GIMP using the same postcard template which you already saved as 'A6 postcard template', right? Use the GIMP text tool, which gives you complete control over font choice, style, colour and size. When it's done to your liking, go through the same process to prepare the PDF for the rear of the postcard.
Step 4: Pick a printer online.
This is the part which could have you curling up into a foetal ball and whimpering softly.
Or, if you live in the UK, you could just do what I did (after a lot of Googling and cursing) and go with Printed.com.
No, I'm not an affiliate, nor do I get any kind of backhander for recommending them. Like any firm I promote on here, it's as a direct result of their good service.
I picked them because my first choice led me all the way through the order process only to lose me at the checkout when I found out their delivery charges cost twice as much as my order, because they were based overseas.
Printed.com, on the other hand, are based in the UK, use the ordinary post, and only charged me a few quid for delivery. Also, their website's online ordering process was easy to use, and their prices compared very favourably with the other online printers I looked into.
Using their online order process, I uploaded PDFs of the face and rear of the postcard and paid for my order.
Ordered online on a Friday night, my postcards turned up neatly and securely packaged the following Wednesday morning.
And that's how to get a postcard of your painting printed. I must admit to having been a little worried while I waited. My monitor isn't calibrated, and I've had one disaster with an online photo printer returning photographs so dark you could barely tell what they were, but this postcard turned out really well. I'm more than happy with the result, and I'll be using Printed.com again.

.png)
.png)
.png)
.png)
.png)